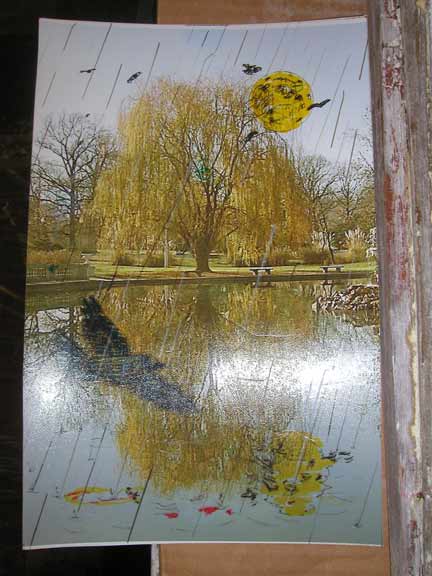
First, let me show you the process of making a mold to press out my "picture-tiles." If you visit this site often, you have no doubt seen one of the picture tiles- that of the snow and aliums and blackbirds. (I have made and sold about 10 of them.). Then about a year ago I said I was going to make the second in the series and showed you the photo/drawing of the next proposed design. Here is that design again.
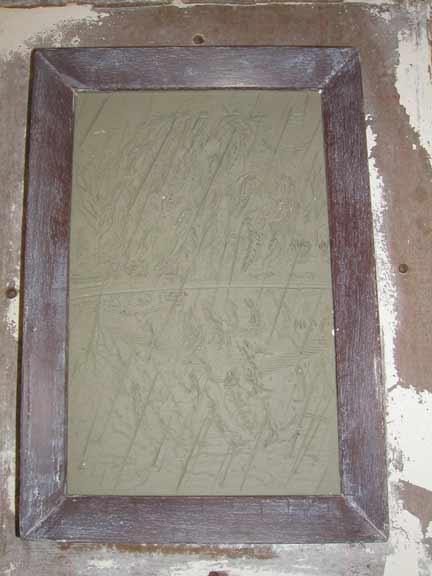
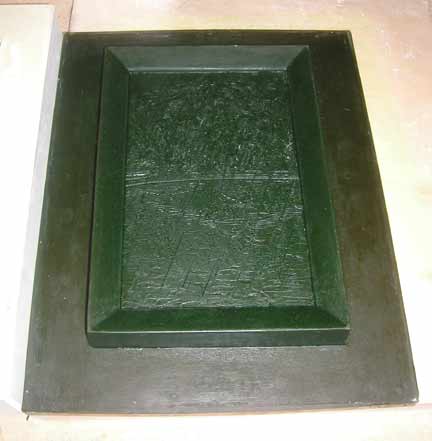
I take the original design and model it in oil clay. As I go along I change the design, adding and deleting things as necessary. It is difficult to see much of the detaill in the clay model, but the top half is in relief and the bottom half- the water reflection- is virtually flat. This tile is a very tight drawing and is going to rely a lot on color to make it work. The picture below shows the oil clay tile and the wood frame together. I pour plaster over the whole thing and I have a mold that I could use to produce tiles
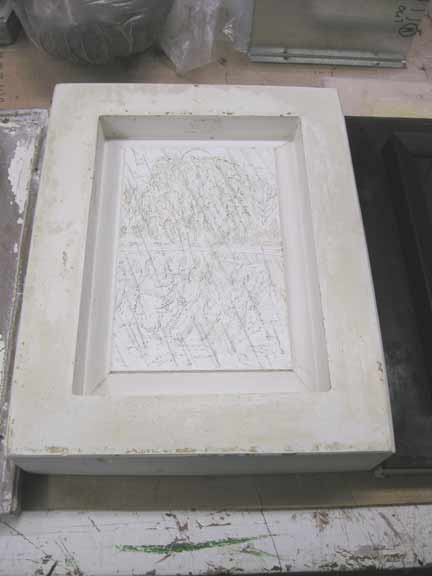
The result below is a negative plaster mold that I could use to make tiles. But I don't use it for that. Next, I make another mold of this plaster mold. But this time it is a positive rubber mold.
The advantage of and the reason for making a rubber mold is that you use it to produce identical working plaster molds. Below is the rubber mold just after pouring the rubber. It sets overnight...
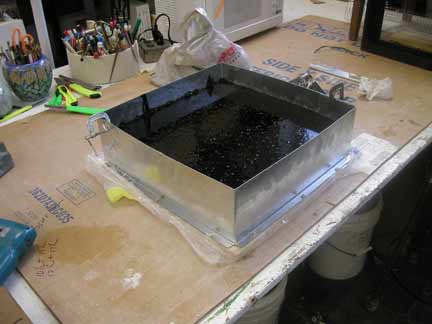
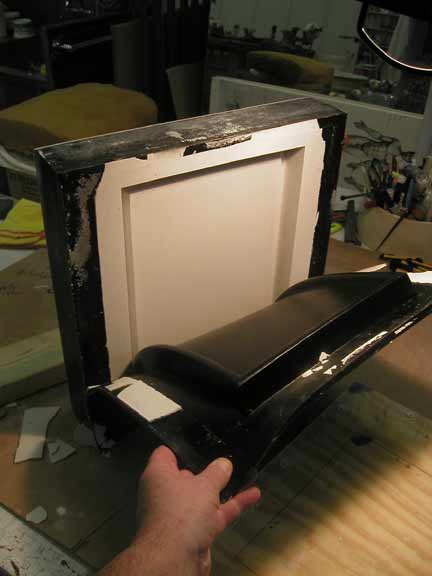
and the next day I have a positive rubber mold- that is, I have a rubber of my original concept. All I have to do is pour plaster over it and then I have my working plaster negative mold. And if that mold cracks under the presssure of pressing, I just pour another working mold.
Here is a pic where I am peeling the rubber mold out of a working mold. This is not the working mold for this particular tile, but it illustrates the process.
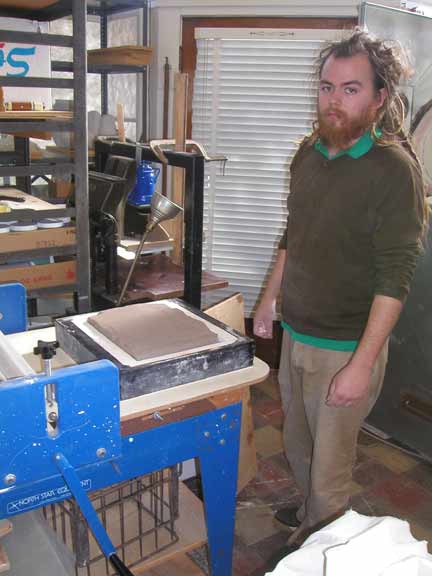
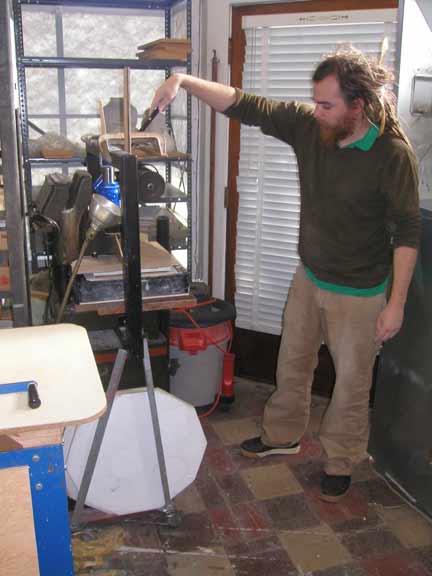
I do not have a close-up picture of the finished working mold. But in the next picture, you can see my friend, Aaron, who has just loaded a working mold with clay and is about to put it in the press. My press is an unusual device of my own design. I can put 12 tons on the mold. Because of that and the fact that I have cracked molds with only 4 tons of pressure, I now make heavy steel frames for my molds. That is the black you see about the edge of the mold. The tile press is that black square frame to Aaron's right. You can see the blue 12 ton bottle jack.
Here is Aaron pressing the tile.
Hopefully, that will give you an idea of the mold making process. So what else is happening in the studio? Well, I am making some elaborate and wonderful pots. Again, they are all taking on that southwest/native American shape. Even if I try to throw something else, that is what I end up with. It's weird! I am putting mountains and moons and birds in the distance. I see some very dramatic sunset skies in my future!

Even the cat likes the one below! This pot is sitting in plastic right now. My goal is to finish the surface decoration tomorrow. It's a big and wonderful shape. I love making these laser pots. Superclean forms.

I am really producing the work right now and the studio quickly becomes a mess. Table space and shelf space is scarce. I am going to have a storage problem in a few weeks. One of the reasons for that is that I am making some big things I have heretofore avoided. Right now, I am making a series of 20" plate/bowls that are really just a wonderful surface for my ideas. These are big and the process and the results demand a lot of space. Space I don't have!! But, who cares? See that plastic bag on the right of the picture below? That is one of the 20" chargers.
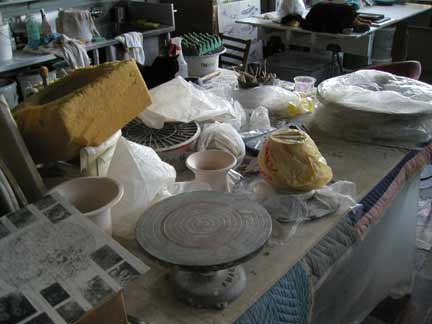
Here is one of the chargers as it is in the making process. It starts out at 22" in diameter and will be a finished 20".

And here is the other side that I have turned in to a wisteria image with a big full moon in the center. Imagine yourself standing under a wisteria arbor when there is a full moon and you look up...
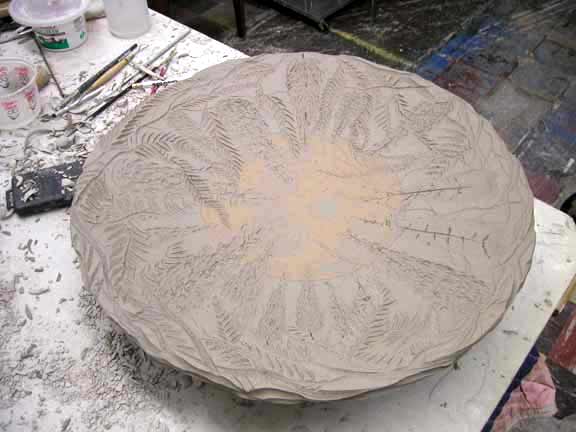
These are going to be killer, killer pieces. They are made for the table or the wall and I am making a series of them with images that have heretofore appeared on my pots.
The next one is going to be a solid full moon with action going on in front of it. Again, very "Japaneazy." I am very excited about these. (As I am about everything.)
So, "What else is happening?" you ask. Lots. And much of it is a surprize that I am not going to show you until Zanesville. I am making a new charm- a giveaway-a gimmie-and I'll show you that...
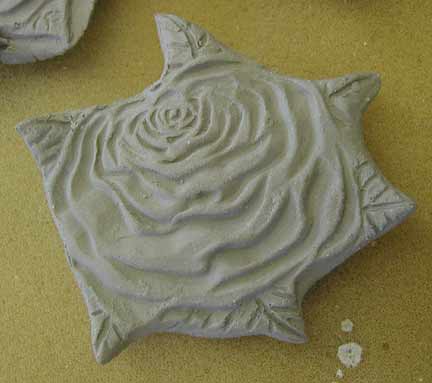
It is going to be a necklace that can be glazed in different colors. Last year when I handed out my very elaborate pot necklace- they took 40 minutes each-here is a pic below of it since many of you never saw it- a number of women remarked that they would not really go with clothing colorwise. I know, it's silly and I could care less. But this year, I kept that comment in mind and when I decided to design something, I made it to be colored a variety of different ways. Just trying to keep you happy!! Anyway, here is a pic of last years charm, since many of you have never seen them. I only have one and it is damaged- look at the handles. It is about 2 1/2" inches accross.

I had every expectation of selling these last year, but I ended up giving them away. I made maybe 45 of them. I gave them away as necklaces with cords on them then also as Christmas ornaments with tree hangers on them.
I am picking up ten gallons of slip tomorrow and fully intend to make more of them as well as some of my old coin charms.
This has been a long update. And still I have more to show. But it will have to wait until the next update in a few weeks. Keep watchin'!